
How to Set Up Medical Alerts for Seniors: A 2026 Guide
Table of Contents
- How to Choose a Medical Alert System Before You Set It Up
- Medical Alert System Setup Checklist: What to Do Before You Start
- Medical Alert System Installation: Base Unit and Help Button
- Medical Alert System Testing: Test Calls and Coverage Checks
- Configuring Emergency Contacts and Monitoring Center Preferences
- Troubleshooting Common Setup Failures and Accessibility Adjustments
- Frequently Asked Questions
Last Updated: October 9, 2026
How to Choose a Medical Alert System Before You Set It Up
Setting up medical alerts for seniors starts with choosing the right system. This ElderLivingHub guide covers picking, testing, and maintaining one.
A medical alert system lets a senior call for help with one button press. It connects to a monitoring center, where a trained professional speaks through the device and sends emergency personnel if needed.
In-Home vs. Mobile Systems
In-home systems use a base unit that stays in the house, and the help button works within its range via phone line or cell signal. They suit seniors who spend most of the day at home.
Mobile systems work anywhere with a cellular connection and add GPS location, so first responders can find the user outside the home.
Landline vs. Cellular Connection
Landline systems plug into a phone jack and are reliable if the home still has phone service. Cellular systems need no phone line and keep working during a power outage thanks to battery backup.
The catch with landlines: if the line is cut or the phone company has an outage, the system goes silent. Cellular avoids that problem but depends on signal strength at the address. Check coverage before you buy.
Medical Alert System Setup Checklist: What to Do Before You Start
A setup checklist keeps the process calm and quick. Gather these first:
- The system box, base unit, and help button
- Power adapter and any backup battery
- The setup guide or instructional video link
- Your Wi-Fi password, if the unit uses wireless connection
- A list of emergency contacts with phone numbers
- Your parent’s medical history and medication list
- A phone for the test call
- A notepad to write down the account number
Do the setup yourself before handing the system to your parent. It is far easier to troubleshoot a base unit on your own kitchen table than over the phone with someone who is frustrated.
Also pick the room where the base unit will live. A central spot like a hallway or living room gives the best coverage; avoid microwaves, refrigerators, and thick stone walls.
Medical Alert System Installation: Base Unit and Help Button
Medical alert system installation takes about 15 to 30 minutes for most models: plug in the base unit, wait for it to connect, then pair the help button. No tools are needed.
Start with the base unit:
- Plug the power adapter into a wall outlet, not a power strip or extension cord that can be switched off or unplugged by accident.
- Turn the unit on and wait for the status light to turn steady. A blinking light usually means it is still searching for a network or phone line.
- Follow the voice prompts or app to connect. If the unit uses Wi-Fi, enter the password exactly, including capital letters.
- Enter your emergency contact numbers when asked. You can usually change these later through the app or by calling the provider.
Placing the Base Unit for Coverage
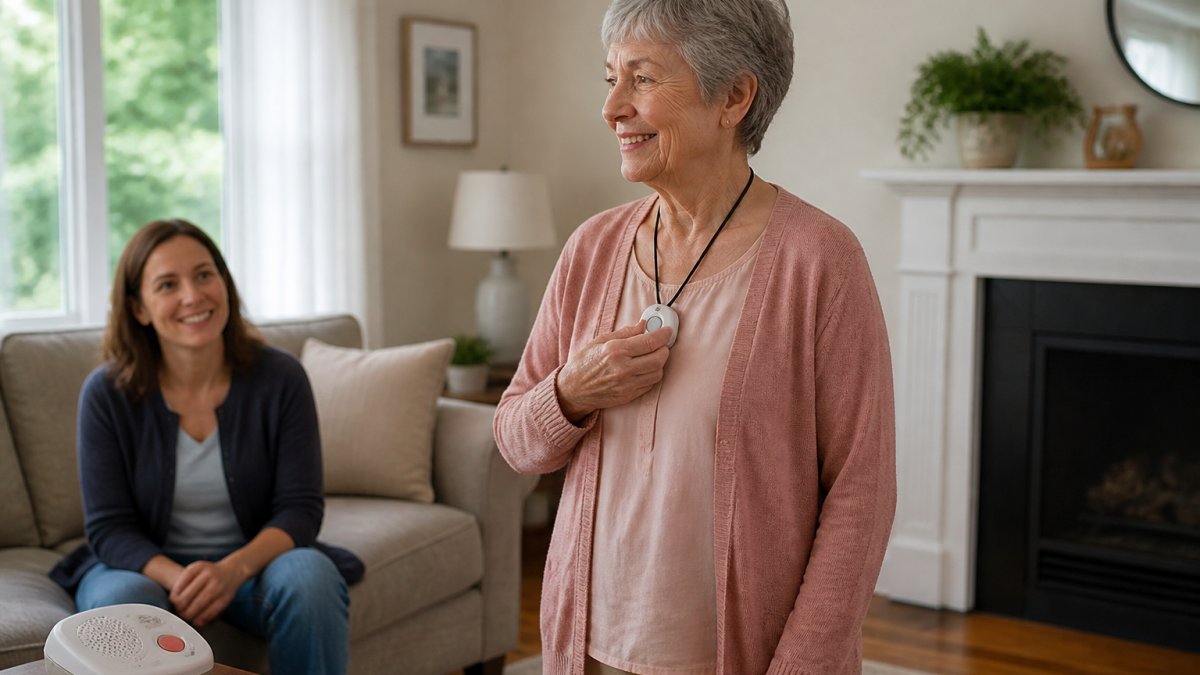
Place the base unit in the room your parent uses most, ideally a central hallway, living room, or kitchen wall not blocked by furniture.
Raise the unit off the floor if you can. Sound carries better from a table, shelf, or counter than from a low outlet near carpet, which matters if your parent has hearing loss.
Then test the range room by room. Walk to the farthest corner, press the button, and listen for the base unit to respond.
Wearing and Pairing the Help Button
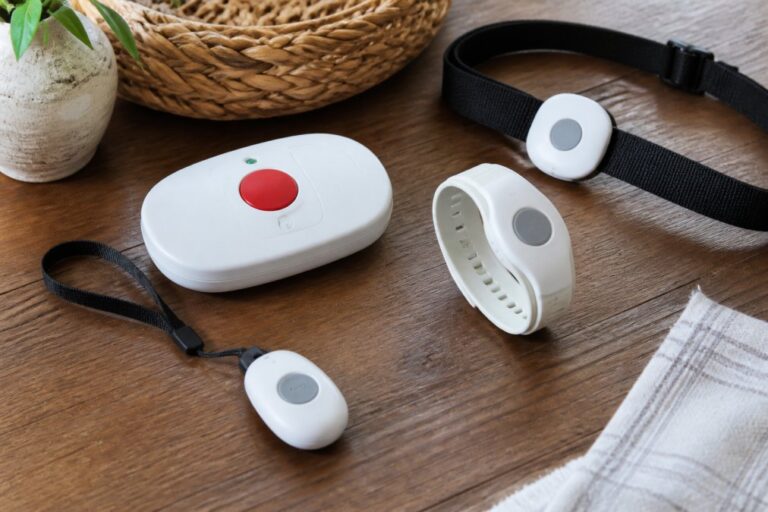
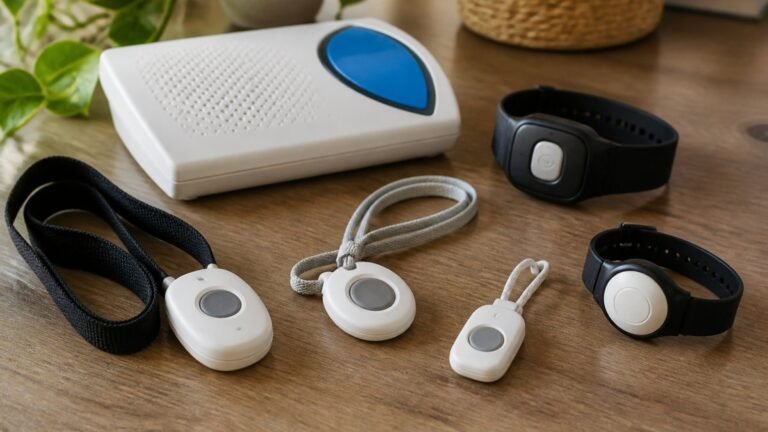
The help button comes as a pendant, wristband, or belt clip. Pair it by holding the button down until the base unit beeps, or by following the app’s pairing screen.
Check the fit. A pendant should rest against the chest, not swing loose, with a cord short enough not to catch on drawer handles or wheelchair wheels.
Accessibility adjustments belong in this step, not after a problem appears. For arthritis, a larger button with a raised center is easier to press than a flat disc.
A Brand-Neutral Setup Checklist
Because setup steps vary by brand, use this sequence as a universal checklist for landline, cellular, or Wi-Fi systems.
- Unbox and confirm every part is present: base unit, power adapter, help button, charging cradle, and manual
- Charge the help button fully before first use
- Plug in the base unit and confirm the status light is steady
- Connect to the network or phone line and confirm the unit reports a connection
- Enter emergency contacts and confirm each number is correct
- Set response preferences with the monitoring center
- Pair the help button and confirm the base unit beeps
- Test the button from every room your parent uses
- Test the button from the bathroom, bedroom, and any outdoor area
- Unplug the base unit to confirm battery backup works
- Make a test call to the monitoring center and confirm two-way audio
- Write down the account number and the provider’s support number
- Show your parent how to press the button and what happens next
Keep the checklist with the account paperwork so you can run it again when a battery needs replacing or a contact changes.
Medical Alert System Testing: Test Calls and Coverage Checks
Medical alert system testing is the step families skip, and it matters most. A system that has never been tested is not ready. Testing has three parts: a test call to the monitoring center, a room-by-room coverage check, and a backup-power check. Do all three before your parent relies on the system. (Source: Federal Emergency Management Agency (FEMA) guidelines on emergency preparedness)
Making the Test Call
Call the monitoring center and say you are doing a test. The operator will confirm your account and walk you through it. Press the help button during the call and confirm two-way communication works on both ends.
Families often test only the button and never the audio. Speak in a normal voice from across the room and ask the operator whether they can hear you clearly.
Room-by-Room Coverage Checks
Walk the home and press the button from each room your parent uses, especially the bathroom and bedroom, the two most common fall locations. Test the basement stairs, garage, front porch, and back patio if your parent spends time there. Keep a simple list and mark each spot as clear, weak, or dead.
A dead zone is a spot where the button does not reach the base unit, common in homes with plaster walls, metal siding, or multiple floors.
Backup Power and Connection Checks
Unplug the base unit for one minute and confirm it stays on. Most units have a rechargeable battery that lasts several hours to a day or more, but the only way to know yours works is to test it.
If the system uses a landline, test it during a power outage if you can, since some phone lines lose service when the power goes out. For cellular, check signal strength at the base unit’s location and note whether it drops during storms.
Documenting the Results
Write down the date of each test, the rooms tested, any dead zones, and the name of the operator who confirmed the test. Keep this log with the account paperwork. Re-test every month, and immediately after any of these events:
- A move to a new home or a rearrangement of furniture
- A change in phone, internet, or cellular service
- A new battery or a replacement help button
- A change in emergency contacts or response preferences
- A hospital stay or a change in your parent’s mobility
If the base unit beeps but the monitoring center never answers, do not assume the system works. A silent failure during a real emergency costs minutes that matter. Call the provider and re-test before your parent relies on it.
What Happens After the Button Is Pressed
Understanding the response sequence helps you explain the system to your parent and set realistic expectations. When the button is pressed, the base unit connects to the monitoring center. An operator speaks through the unit’s speaker and asks what is happening.
Explain this sequence to your parent in plain language. Many seniors hesitate to press the button because they fear a false alarm or an unnecessary ambulance.
The best setup is the one your parent can actually use alone. Test it with them, not for them, and adjust until they can press the button without help.
Configuring Emergency Contacts and Monitoring Center Preferences
Emergency contacts are the people the monitoring center calls when your parent presses the button.
Next, set response preferences. Most systems ask whether to send emergency personnel first or call family first. For a senior with a history of falls, sending help first is usually safer.
Also decide who can access the account. Caregivers, siblings, and home aides may all need login details. Keep one shared list of passwords so no one is locked out during a crisis.
Troubleshooting Common Setup Failures and Accessibility Adjustments
Most setup problems fall into a few buckets. Here is how to fix each one.
| Problem | Likely Cause | Fix |
|---|---|---|
| No dial tone or no signal | Loose phone jack or weak cell coverage | Reseat the cable or move the unit near a window |
| Button does not trigger the base | Not paired or low battery | Re-pair the button and charge it fully |
| Range drops in some rooms | Base unit too far or blocked | Move the base to a central spot |
| Unit beeps constantly | Low battery or lost connection | Charge the unit and check the network |
| Monitoring center cannot hear | Microphone blocked or volume low | Clear the unit and raise the speaker volume |
Accessibility matters as much as function. Try these adjustments:
- Add a second button for the bedroom or bathroom
- Use a wristband if a pendant gets in the way
- Set the speaker volume higher for a parent with hearing loss
- Choose a button with a raised center for arthritic hands
- Label the button with a bright sticker if it is hard to see
Setting up medical alerts for seniors is a weekend project, not a technical ordeal. The real work is choosing the right system, placing it well, and testing it until you trust it.
If comparing systems feels overwhelming, ElderLivingHub can help.
Get started with ElderLivingHub and find a medical alert system your whole family can rely on.
Frequently Asked Questions
Will Medicare pay for a medical alert system?
Original Medicare (Part A and Part B) generally does not cover medical alert systems because they are considered non-medical equipment. Some Medicare Advantage plans may offer coverage as a supplemental benefit, so check your specific plan. Medicaid coverage varies by state. Veterans may qualify for assistance through VA benefits. Always confirm coverage directly with your insurance provider before purchasing.
Where should you place a medical alert base unit?
Place the base unit in a central location where the senior spends most of their time, such as the living room or bedroom. Keep it near an electrical outlet and, for landline systems, near a phone jack. Avoid placing it behind furniture or in rooms with thick walls that could interfere with signal strength. Test coverage in every room, including the bathroom and kitchen, to ensure the help button works throughout the home.
How do you test a medical alert system after installation?
Press the help button and speak with the monitoring professional to confirm two-way communication works. Let them know it is a test call. Test the wearable button from different rooms to check coverage range and signal strength. Verify that your emergency contacts receive notifications. Check the battery backup by unplugging the base unit briefly. Repeat this test monthly and after any power outage.
What information should you give a medical alert monitoring service?
Provide the senior’s full name, address, and apartment or unit number. List current medical conditions, medications, and allergies. Include primary and secondary emergency contacts with phone numbers. Specify whether the senior has pets, uses a mobility device, or has hearing or vision limitations. Note any code to enter the home or a lockbox location. Update this information whenever health or contact details change.